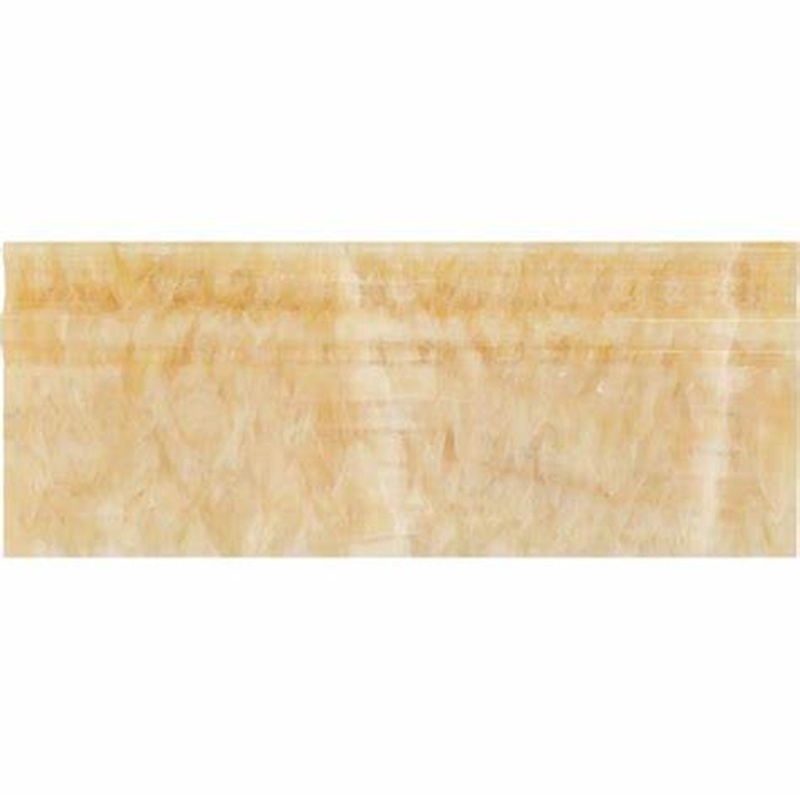
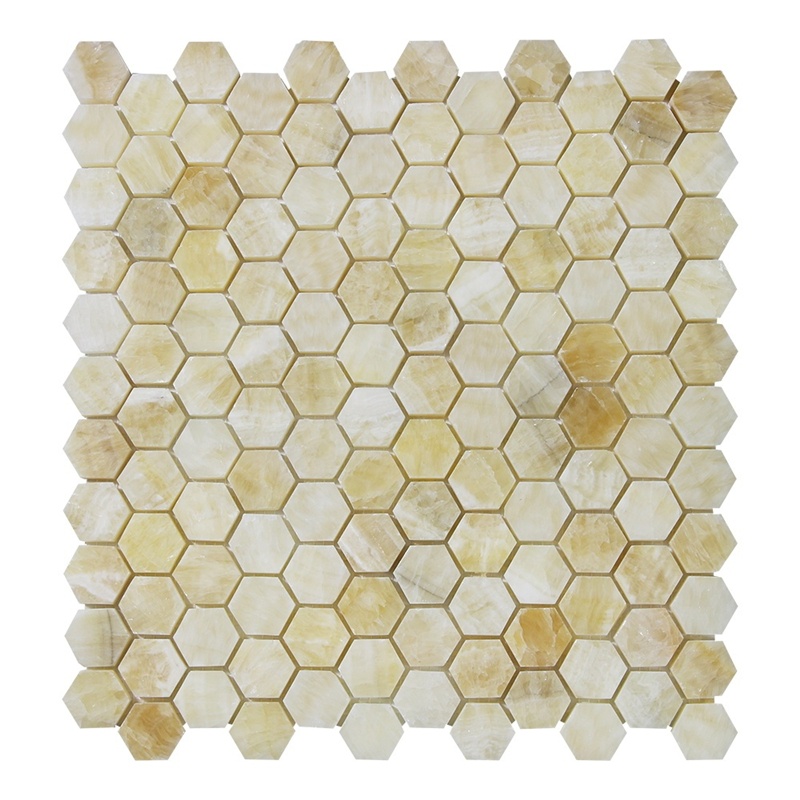
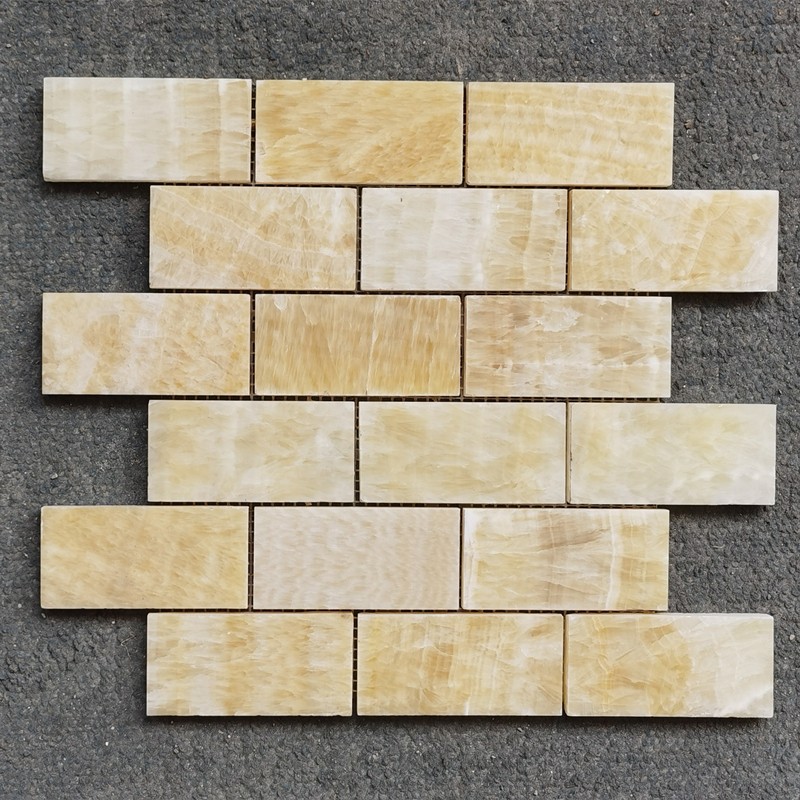
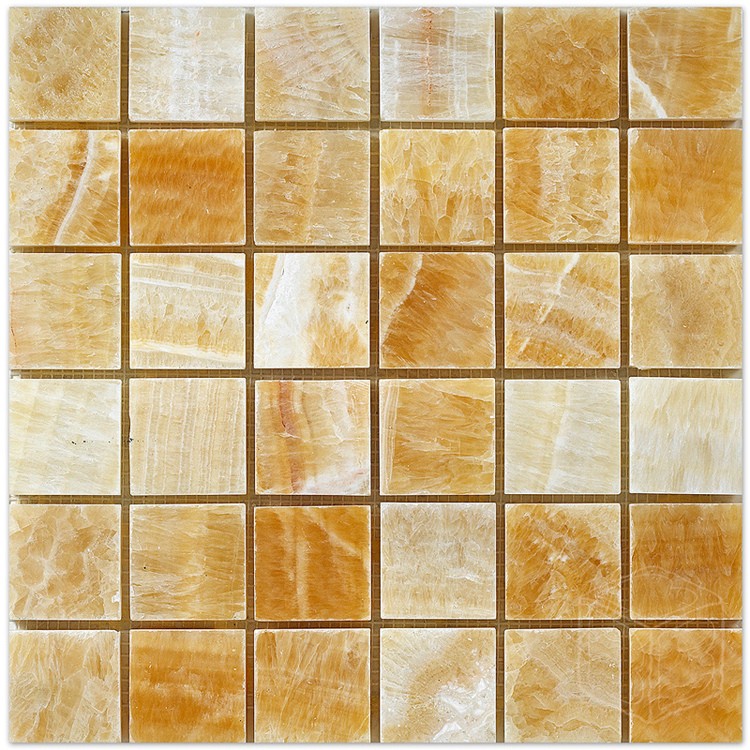
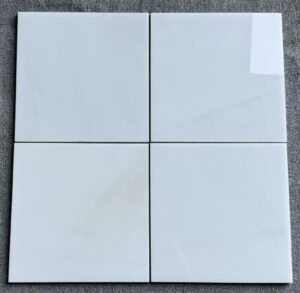
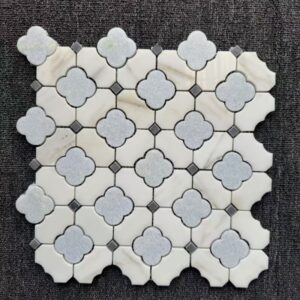
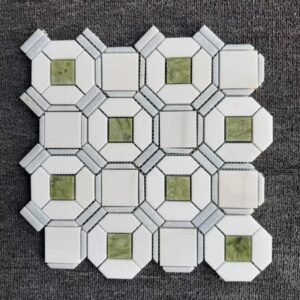
Marble mosaic tiles add a touch of elegance and sophistication to any space. Whether you're embarking on a DIY project or a professional tile installer, understanding how to cut marble mosaic tiles is essential to achieve precise and clean cuts. In this article, we will guide you through the step-by-step process of cutting marble mosaic tiles, ensuring that you can confidently tackle your tile installation with skill and precision.
Gather the Tools and Materials:
Before you begin cutting marble mosaic tiles, gather the necessary tools and materials. You will need:
Wear safety glasses and gloves while cutting to keep yourself safe.
the use of a diamond-bladed wet tile saw. The marble is shielded from chipping or breaking by the wet tile saw, which also helps keep the blade cool.
a ruler or measuring tape to determine the cuts' dimensions.
To indicate the cutting lines on the tiles, use a pencil or marker.
For small and complex cuts, use tile nippers or a tile cutter.
a square or straight edge to guarantee exact, straight cuts.
Water for the reservoir of the wet tile saw.
Measure and Mark the Tiles:
Begin by measuring the dimensions of the cuts you need to make on the marble mosaic tiles. Use a measuring tape or ruler to determine the desired length and width. Mark the measurements directly onto the surface of the tile using a pencil or marker. Ensure the lines are clear and visible, as they will guide your cutting process.
Cutting Straight Lines:
For straight cuts, a wet tile saw is the most effective tool. Follow these steps:
Follow the manufacturer's recommendations for adding water to the wet tile saw's reservoir.
To align with the indicated cutting line, move the fence or guide on the wet tile saw.
Put on your gloves and safety glasses.
The marble mosaic tile should be placed on the wet tile saw with the marked cutting line parallel to the blade.
Switch on the wet tile saw, then carefully and steadily push a tile in the direction of the blade.
Don't try to force the tile through the blade; let it do the cutting.
Cut along the specified line until you reach the end.
Before removing the cut tile, shut off the wet tile saw and let the blade come to a complete stop.
Making Small and Intricate Cuts:
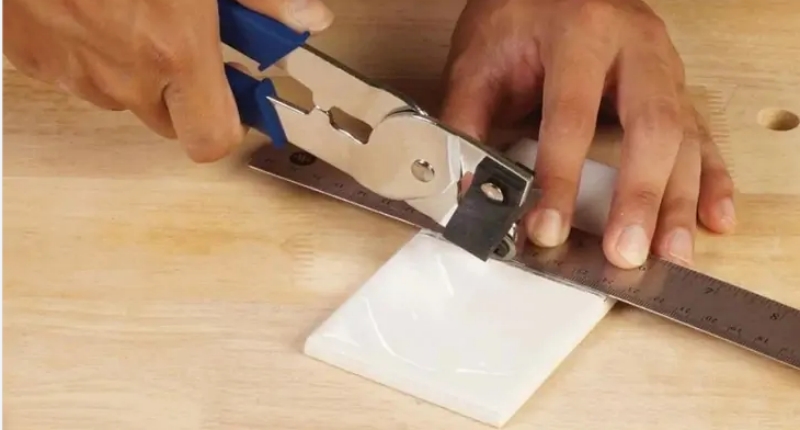
For small or intricate cuts, tile nippers or a tile cutter are suitable tools. Follow these steps:
Put on your gloves and safety glasses.
Measure and mark the marble mosaic tile area that needs to be cut using a measuring tape or ruler.
Place the tile nippers or tile cutter along the cutting line that has been indicated.
Small, consecutive bites or cuts along the line should be made while applying light pressure.
Alternately, if using a tile cutter, place pressure on the tile while aligning the designated line with the cutting wheel. After that, snap the tile along the scored line using the handle of the tile cutter.
To get the required form or size, keep making little cuts or bites.
Finishing the Edges:
It can be necessary to polish and smooth the edges after cutting the marble mosaic tiles. Any rough or pointed edges made during the cutting process should be gradually smoothed using a grinding stone or a file. Don't put too much pressure on the marble; it's a sensitive material.
Practice Safety Precautions:
Throughout the cutting process, prioritize safety by wearing goggles and gloves. Marble dust and shards can be hazardous, so take precautions to protect your eyes and hands. Additionally, ensure the wet tile saw is set up and used according to the manufacturer's instructions.
Conclusion:
For a tile installation project to be successful, cutting marble mosaic tiles is a must. You may produce accurate and clean cuts by following these step-by-step directions and utilizing the proper tools, resulting in a finished product that looks professional. If you're new to tile cutting, keep in mind to emphasize safety, take your time, and practice on scrap tiles. You can cut marble mosaic tiles with practice and care, and you may design gorgeous tile installations for your home.
Related Products