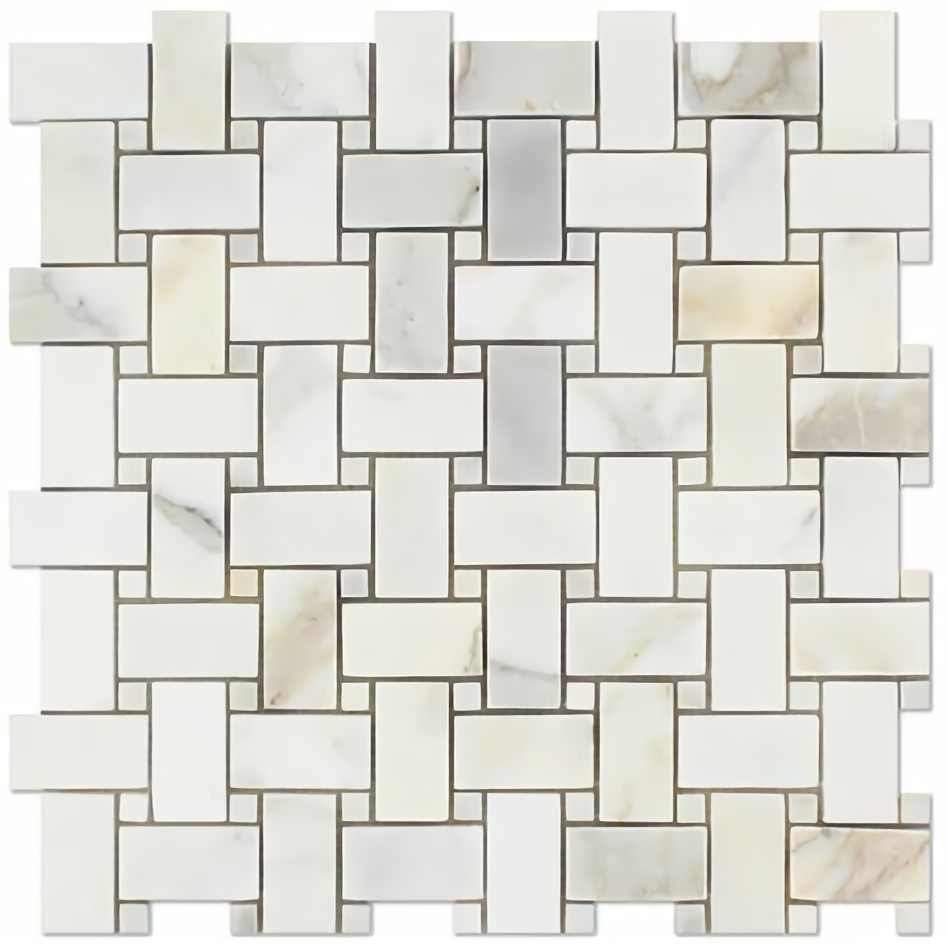
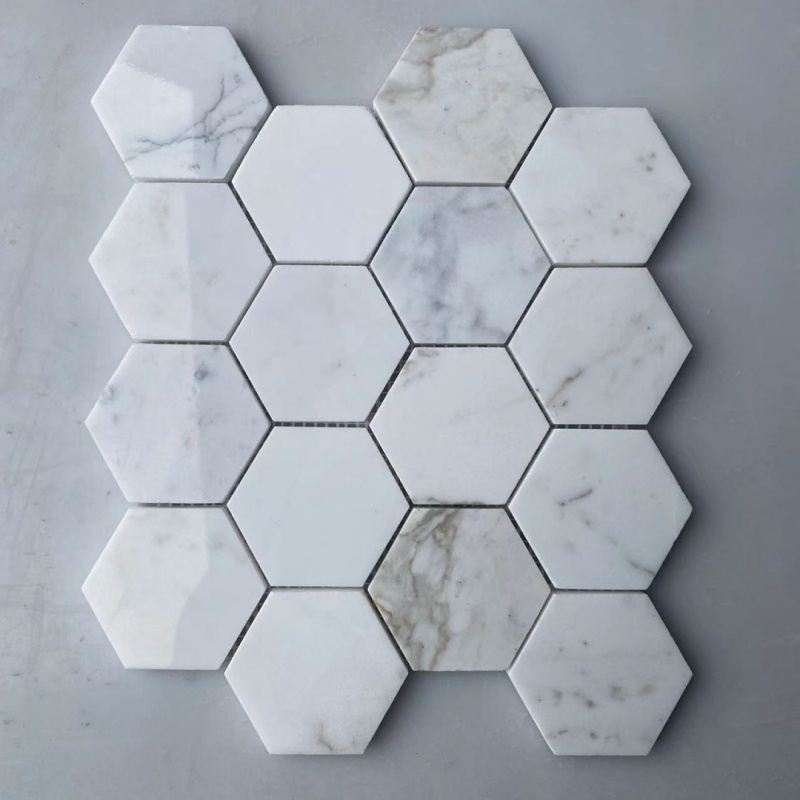
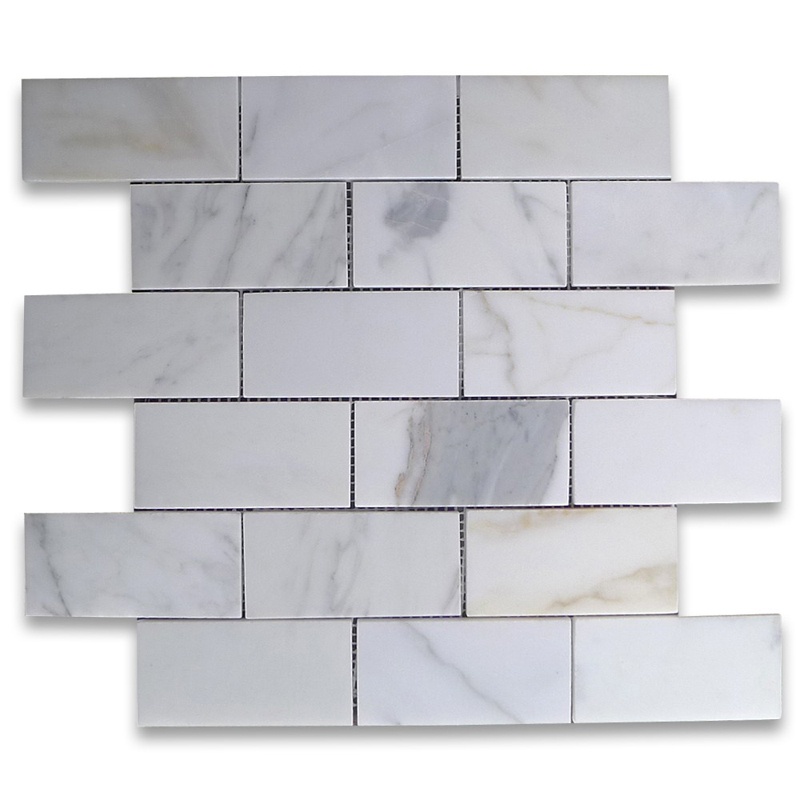
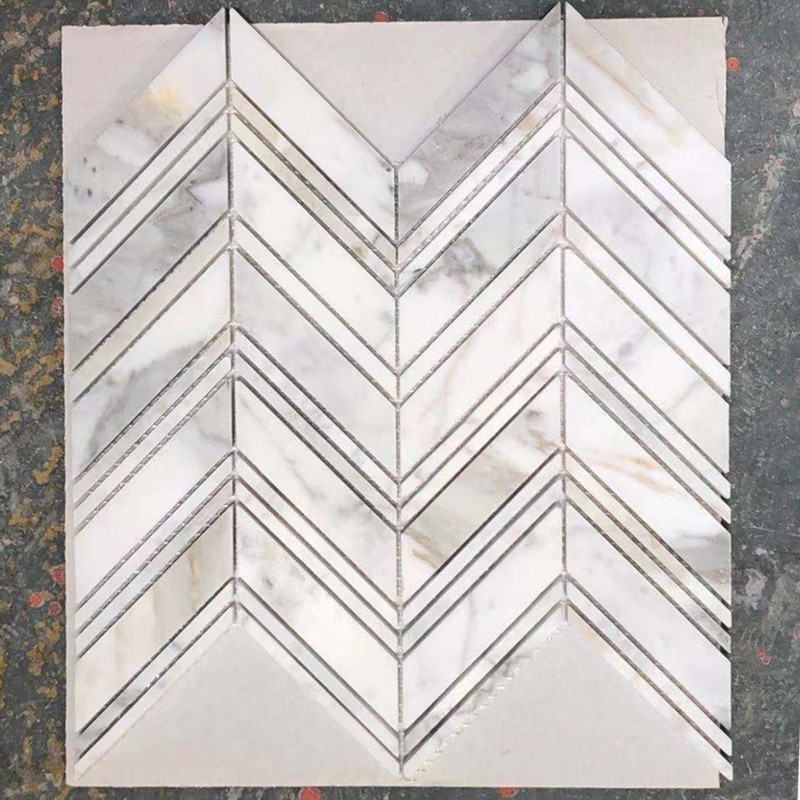
Surface Preparation:
It is essential to prepare the surface where the mosaic sheets will be laid before beginning the installation. Make sure the surface is dust-free, dry, and clean. Repair any fractures or uneven surfaces after removing any existing wallpaper or tiles. If the surface is extremely smooth, you might want to think about lightly sanding it to improve the adhesive's adherence.
Gather the Right Tools and Materials:
A few necessary equipment and supplies are required to install mosaic sheets:
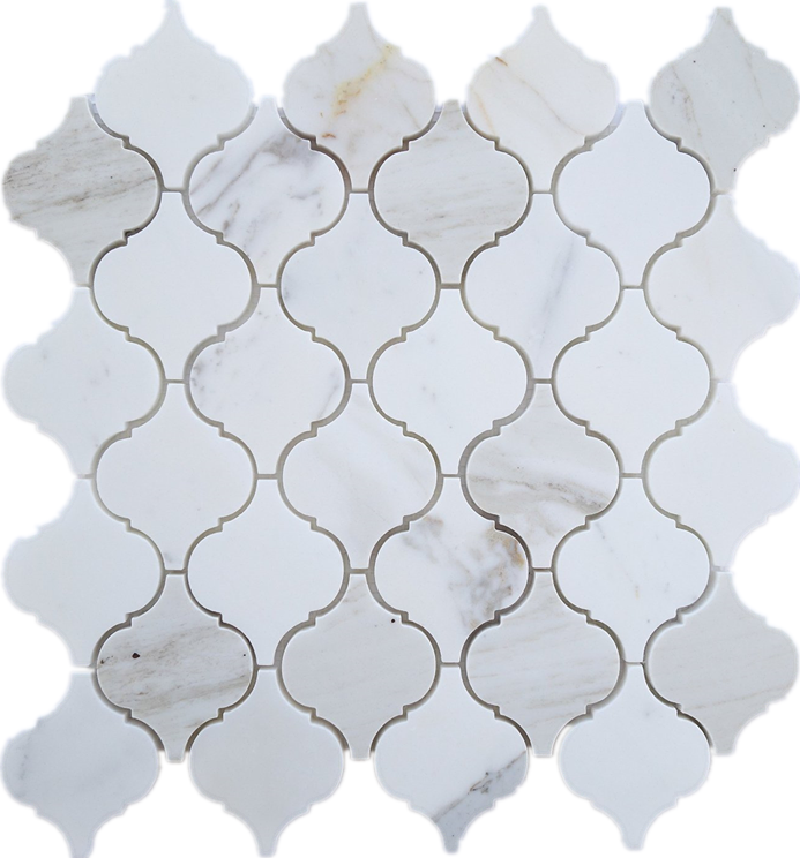
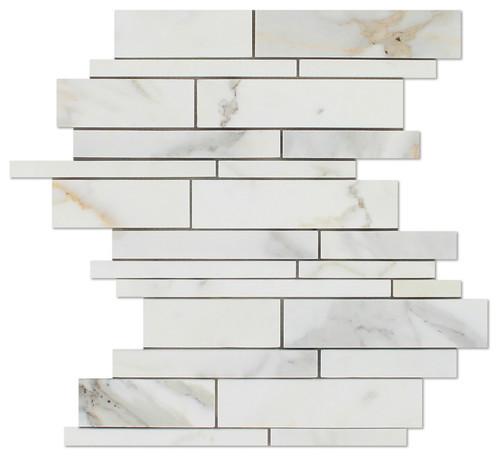
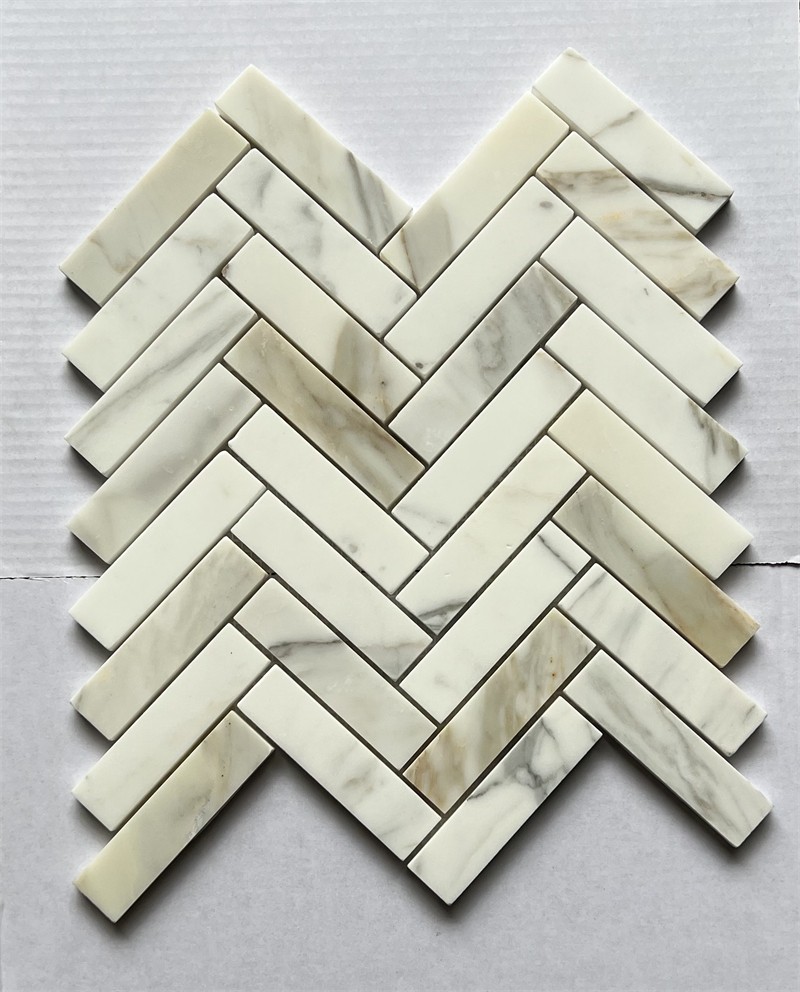
1.Select mosaic sheets that are appropriate for your project and preferred aesthetic. They are made of a variety of substances, each with distinctive properties, including glass, ceramic, stone, and metal.
2.Choose a high-quality tile glue that is appropriate for your particular mosaic sheets and the surface you're working on. For information on the suggested glue, consult the manufacturer's instructions.
3.Notched trowel: To apply the glue to the surface uniformly, use a notched trowel. The trowel's notches should be the same size as those advised for your mosaic sheets.
4.Tile spacers: These little bits of plastic or rubber aid to maintain straight lines and uniform spacing between the mosaic sheets.
5.Pick a grout color that goes well with your mosaic sheets. For smaller mosaic tiles, it is advised to use non-sanded grout to prevent scratching the surface.
To apply and smooth the grout in between the mosaic sheets, use a grout float.
Plan & Layout:
Arrange your mosaic sheets in the desired pattern before adding glue. To see how the sheets will appear on the surface and make any required alterations, dry fit them. To help you with your installation, lightly outline the arrangement on the surface using a pencil.
Apply the Adhesive:
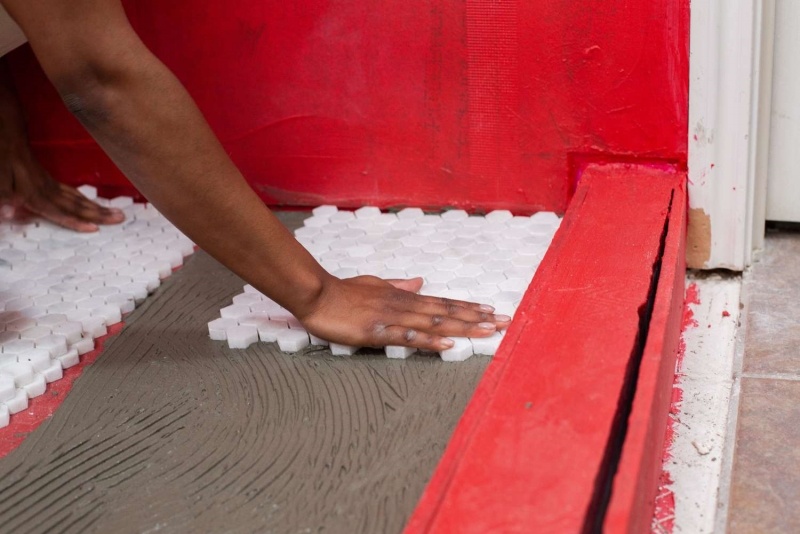
Apply the glue by spreading a thin, equal coating of it over the surface using the notched trowel. To keep the glue from drying out before putting the mosaic sheets in place, work in tiny areas. Use the notched side of the trowel to make ridges in the glue while holding it at a 45-degree angle. The connection between the sheets and the surface will be strengthened as a result.
Install the Mosaic Sheets:
After carefully planning the layout, press the mosaic sheets into the adhesive in the desired pattern. To achieve strong bonding and prevent air bubbles or gaps, apply consistent pressure. Utilize tile spacers to keep the sheets evenly spaced apart, resulting in straight grout lines.
Grouting:
The grout should be applied once the adhesive has dried in accordance with the manufacturer's recommendations. As directed on the packaging, prepare the grout mixture. Make sure all the gaps are filled by spreading the grout diagonally over the mosaic sheets using the grout float. By angling the float at a 45-degree angle, remove any extra grout.
Clean and Finish:
Prior to washing the mosaic sheets, let the grout the appropriate amount of time to dry. Wipe up any extra grout from the tile's surface with a moist sponge, constantly rinsing the sponge. Aim to avoid using excessive pressure that could force the grout out of the cracks. Buff the mosaic sheets with a clean, dry towel to get rid of any grout haze once the grout has completely dried.
Conclusion:
Any place may be made to seem more charming and upscale by installing mosaic sheets. By adhering to the suggestions made in this article, you can guarantee a smooth installation procedure and produce a stunning, polished end product. Always remember to properly prepare the surface, select the appropriate equipment and supplies, carefully design your scheme, and take your time installing and grouting. You may enjoy the breathtaking beauty of mosaic sheets for many years to come if you pay attention to the minor things and have some patience.
Related Products